xshell
# 简介
对于 windows 操作系统,如果觉得 Mobaxterm 功能大而全(臃肿),可以选择另一端常用的工具 Xshell
注意
目前 Xshell 是一款商业软件,目前提供了对于家庭和学校的免费许可证,可以申请后使用,但有一定的功能限制。
# 安装
# 安装软件
- 下载软件:
- 推荐下载家庭和学校的免费版: https://www.xshell.com/zh/free-for-home-school/
- 或者可以考虑付费使用: https://www.xshell.com/zh/xshell-download/
- 双击下载好的
Xshell-7.*.*.exe安装包进行安装,选择 下一步,直到选择 完成,就完成了安装。
# 注册激活
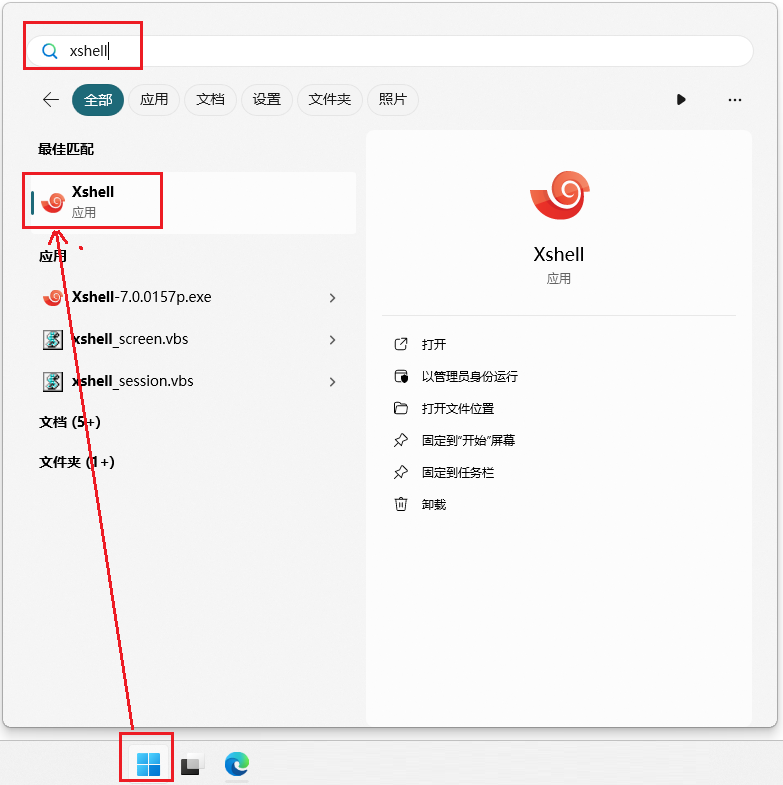
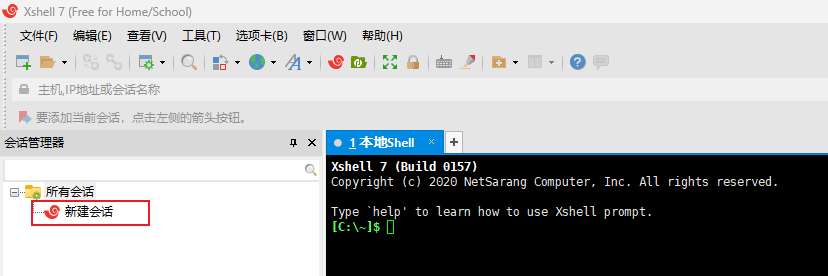
1、打开软件:在开始菜单中输入 xshell,点击并打开软件
2、软件弹出了免费许可,我们可以填写用户名和邮箱进行提交,点击提交
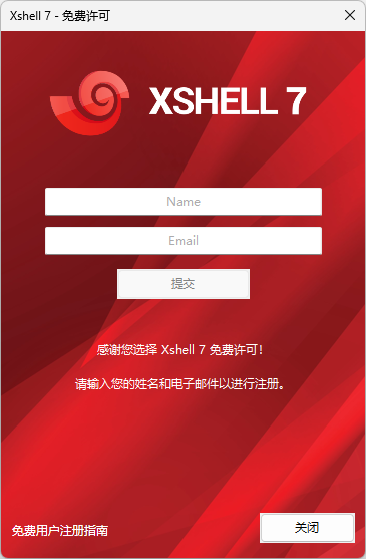
3、软件提示邮件已经发送到邮箱,请点击邮箱连接进行激活。

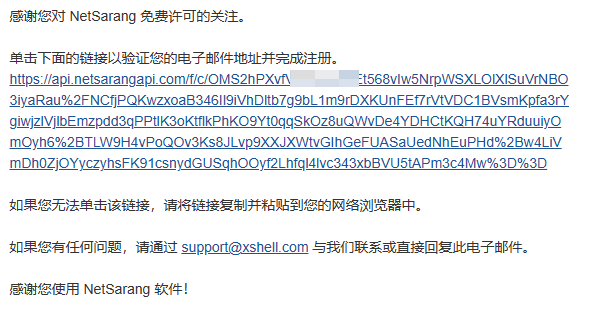
4、我们就去邮箱查看邮件,点击邮件中的连接就行了。
# SSH登录
# 新建一个会话
1、我们点击 新建按钮,快捷键 Alt + N,创建一个新的会话
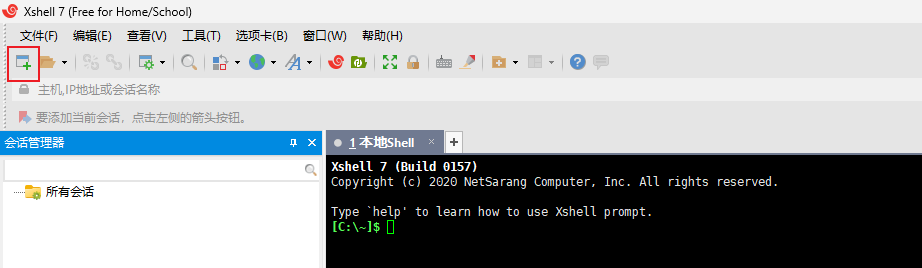
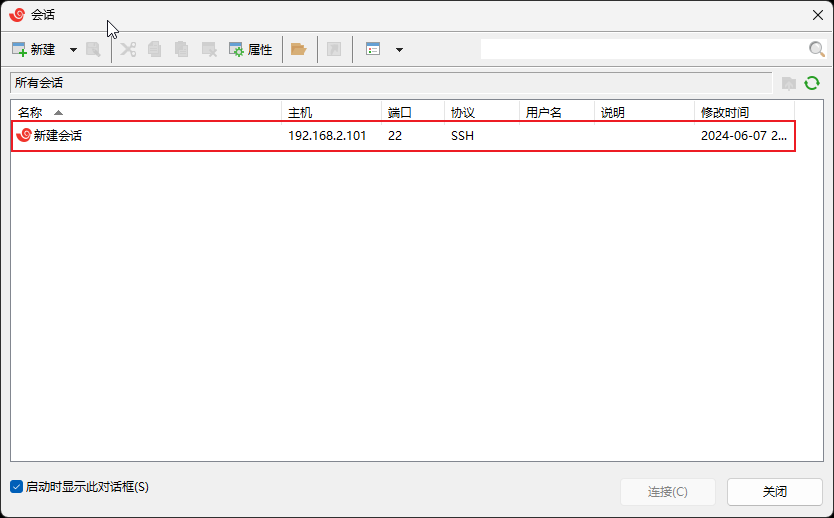
2、在会话中输入主机的 IP 地址即可
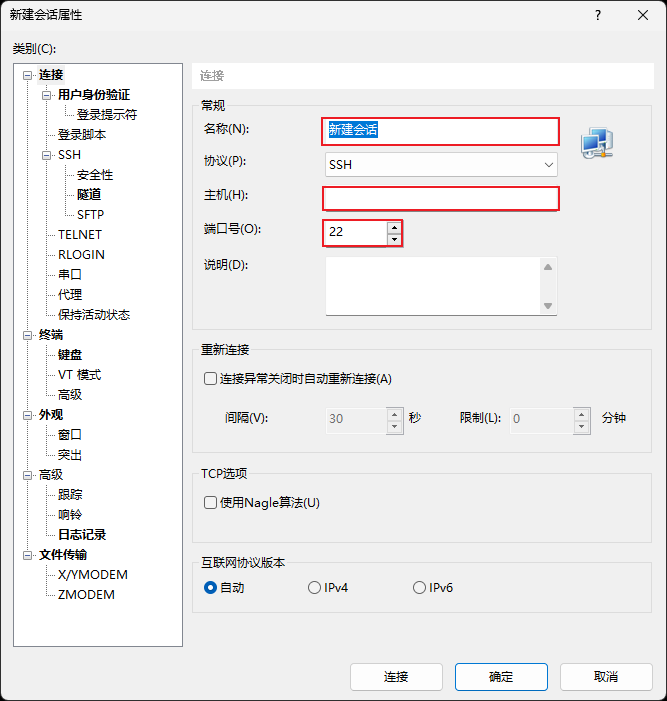
说明:
- 名称:就是这个会话的名字,不影响登录,是用来区分这个会话和其他会话的,可以写成你能理解的就行了
- 主机:最重要,填写远程主机的 IP 地址
- 端口号:默认 22 不用修改,如果远程主机的 SSH 服务的端口号不是 22,则需要调整
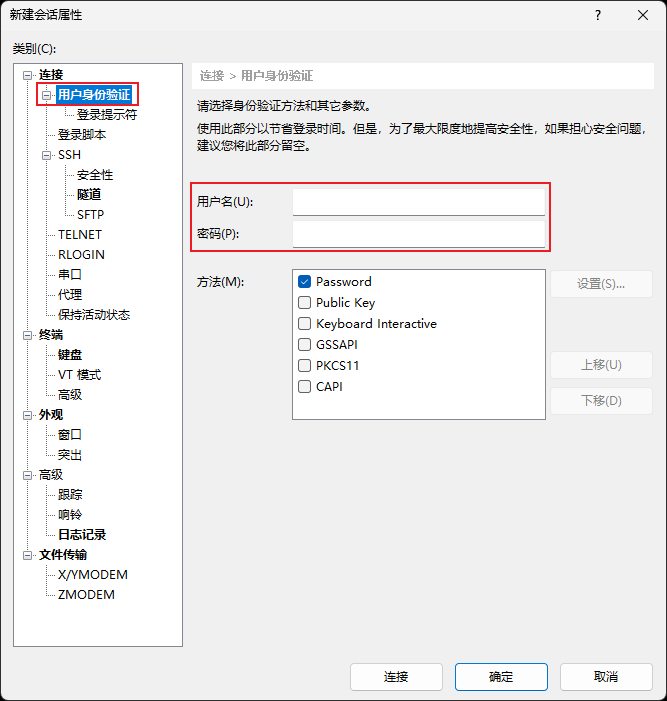
补充:
- 如何希望为这个会话保存登录的账号名和密码,可以选择 用户身份验证,然后输入用户名和密码 ,再保存。
# 通过会话进行连接
1、双击刚才创建的新会话
2、或者重新打开软件会弹出如下会话窗口,双击打开
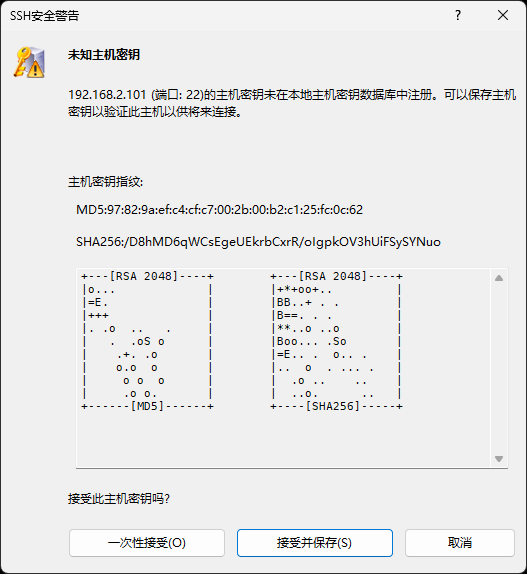
3、如果是第一次连接,会提示 未知主机秘钥。直接选择 接受并保存 即可,以后就不会出现了
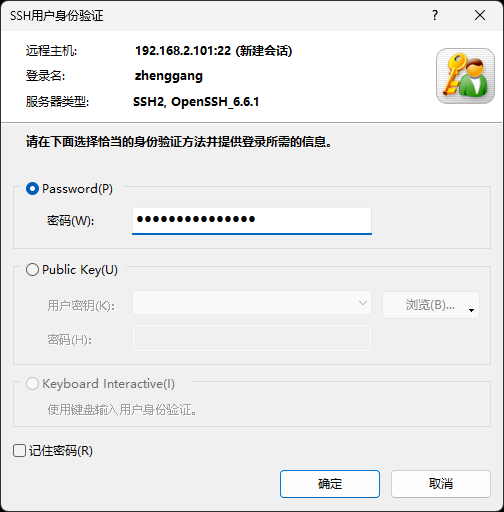
4、根据提示输入用户名,可以选择 记录用户名
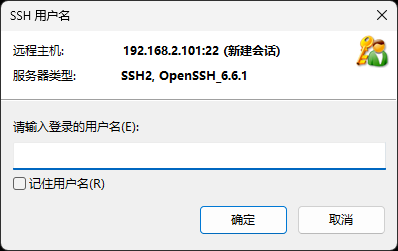
5、根据提示输入密码,即可登录